Lock in your timesheets
Paul Doerwald • February 3, 2025

This feature is available in the Studio plan and higher
TL;DR: Lock in your day to mark your timesheet complete. You’ll see what days have been locked on all reports.
How to “Lock it in”
The “Lock it in” button appears at the bottom of the Activity view. After you click “Lock it in”, Clockk shows you a screen where you can optionally add descriptions for each of your projects.
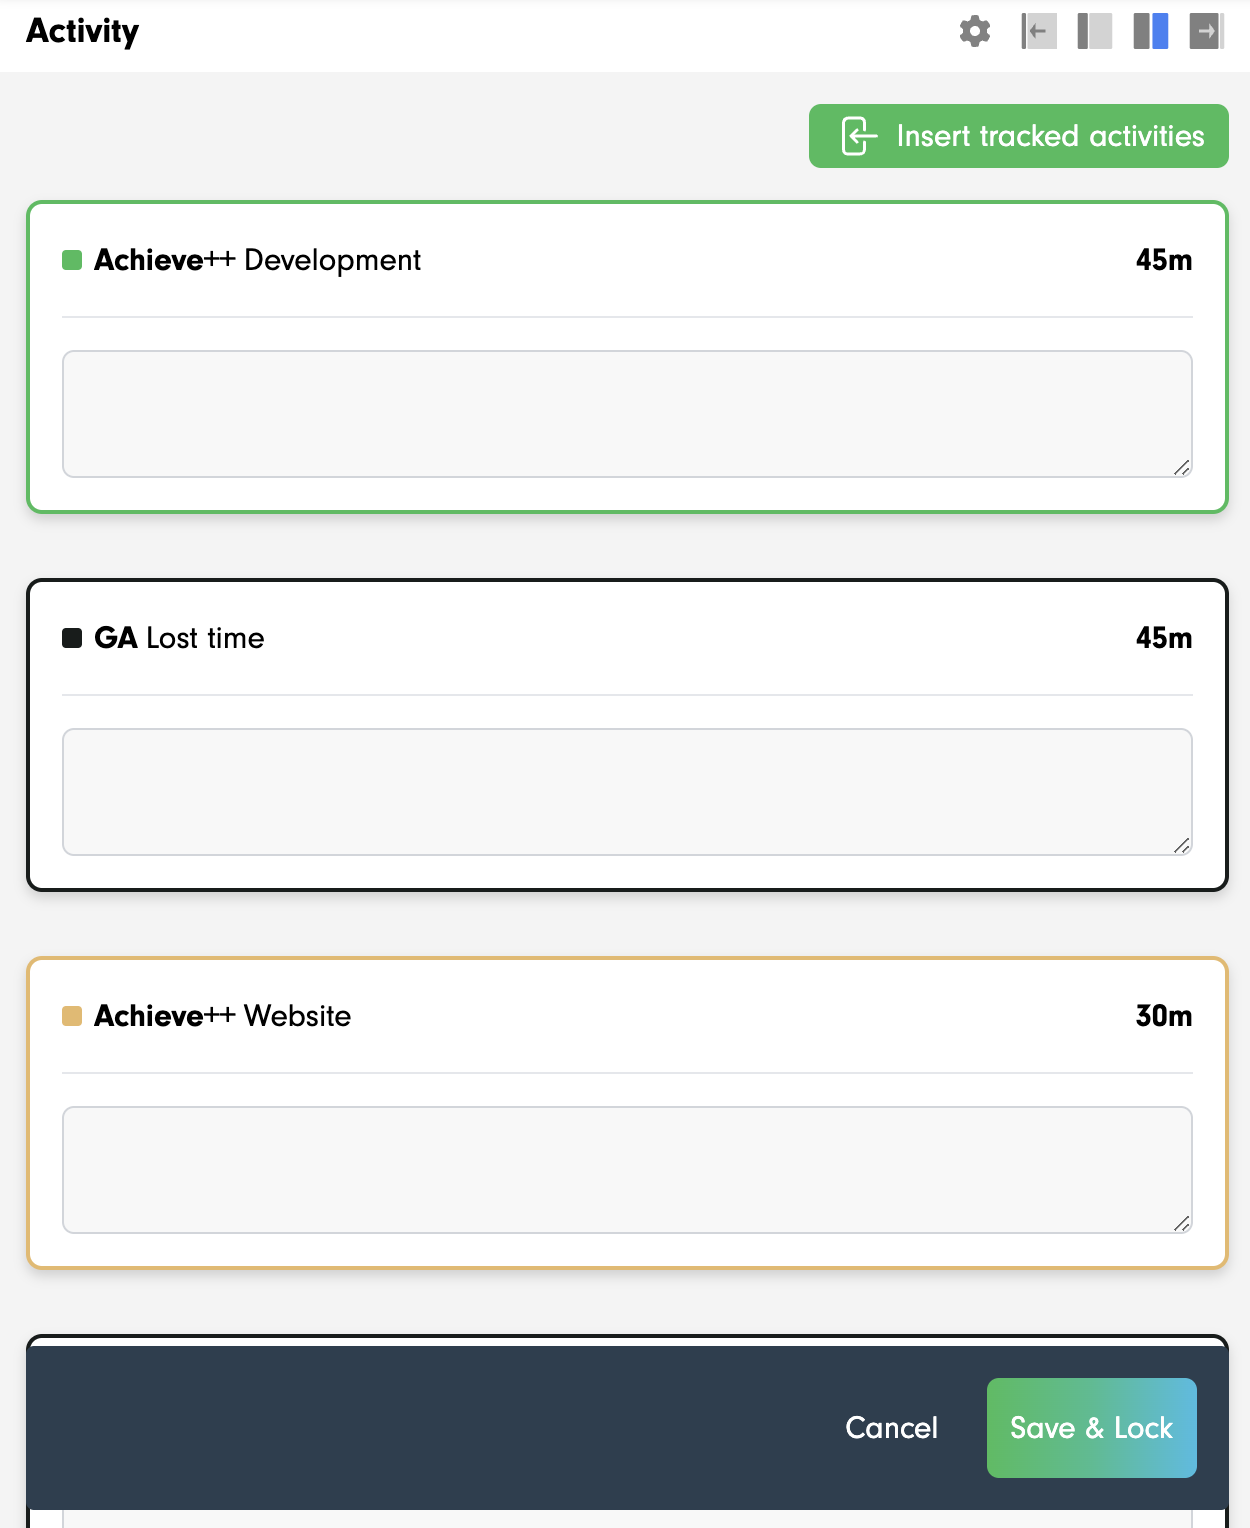
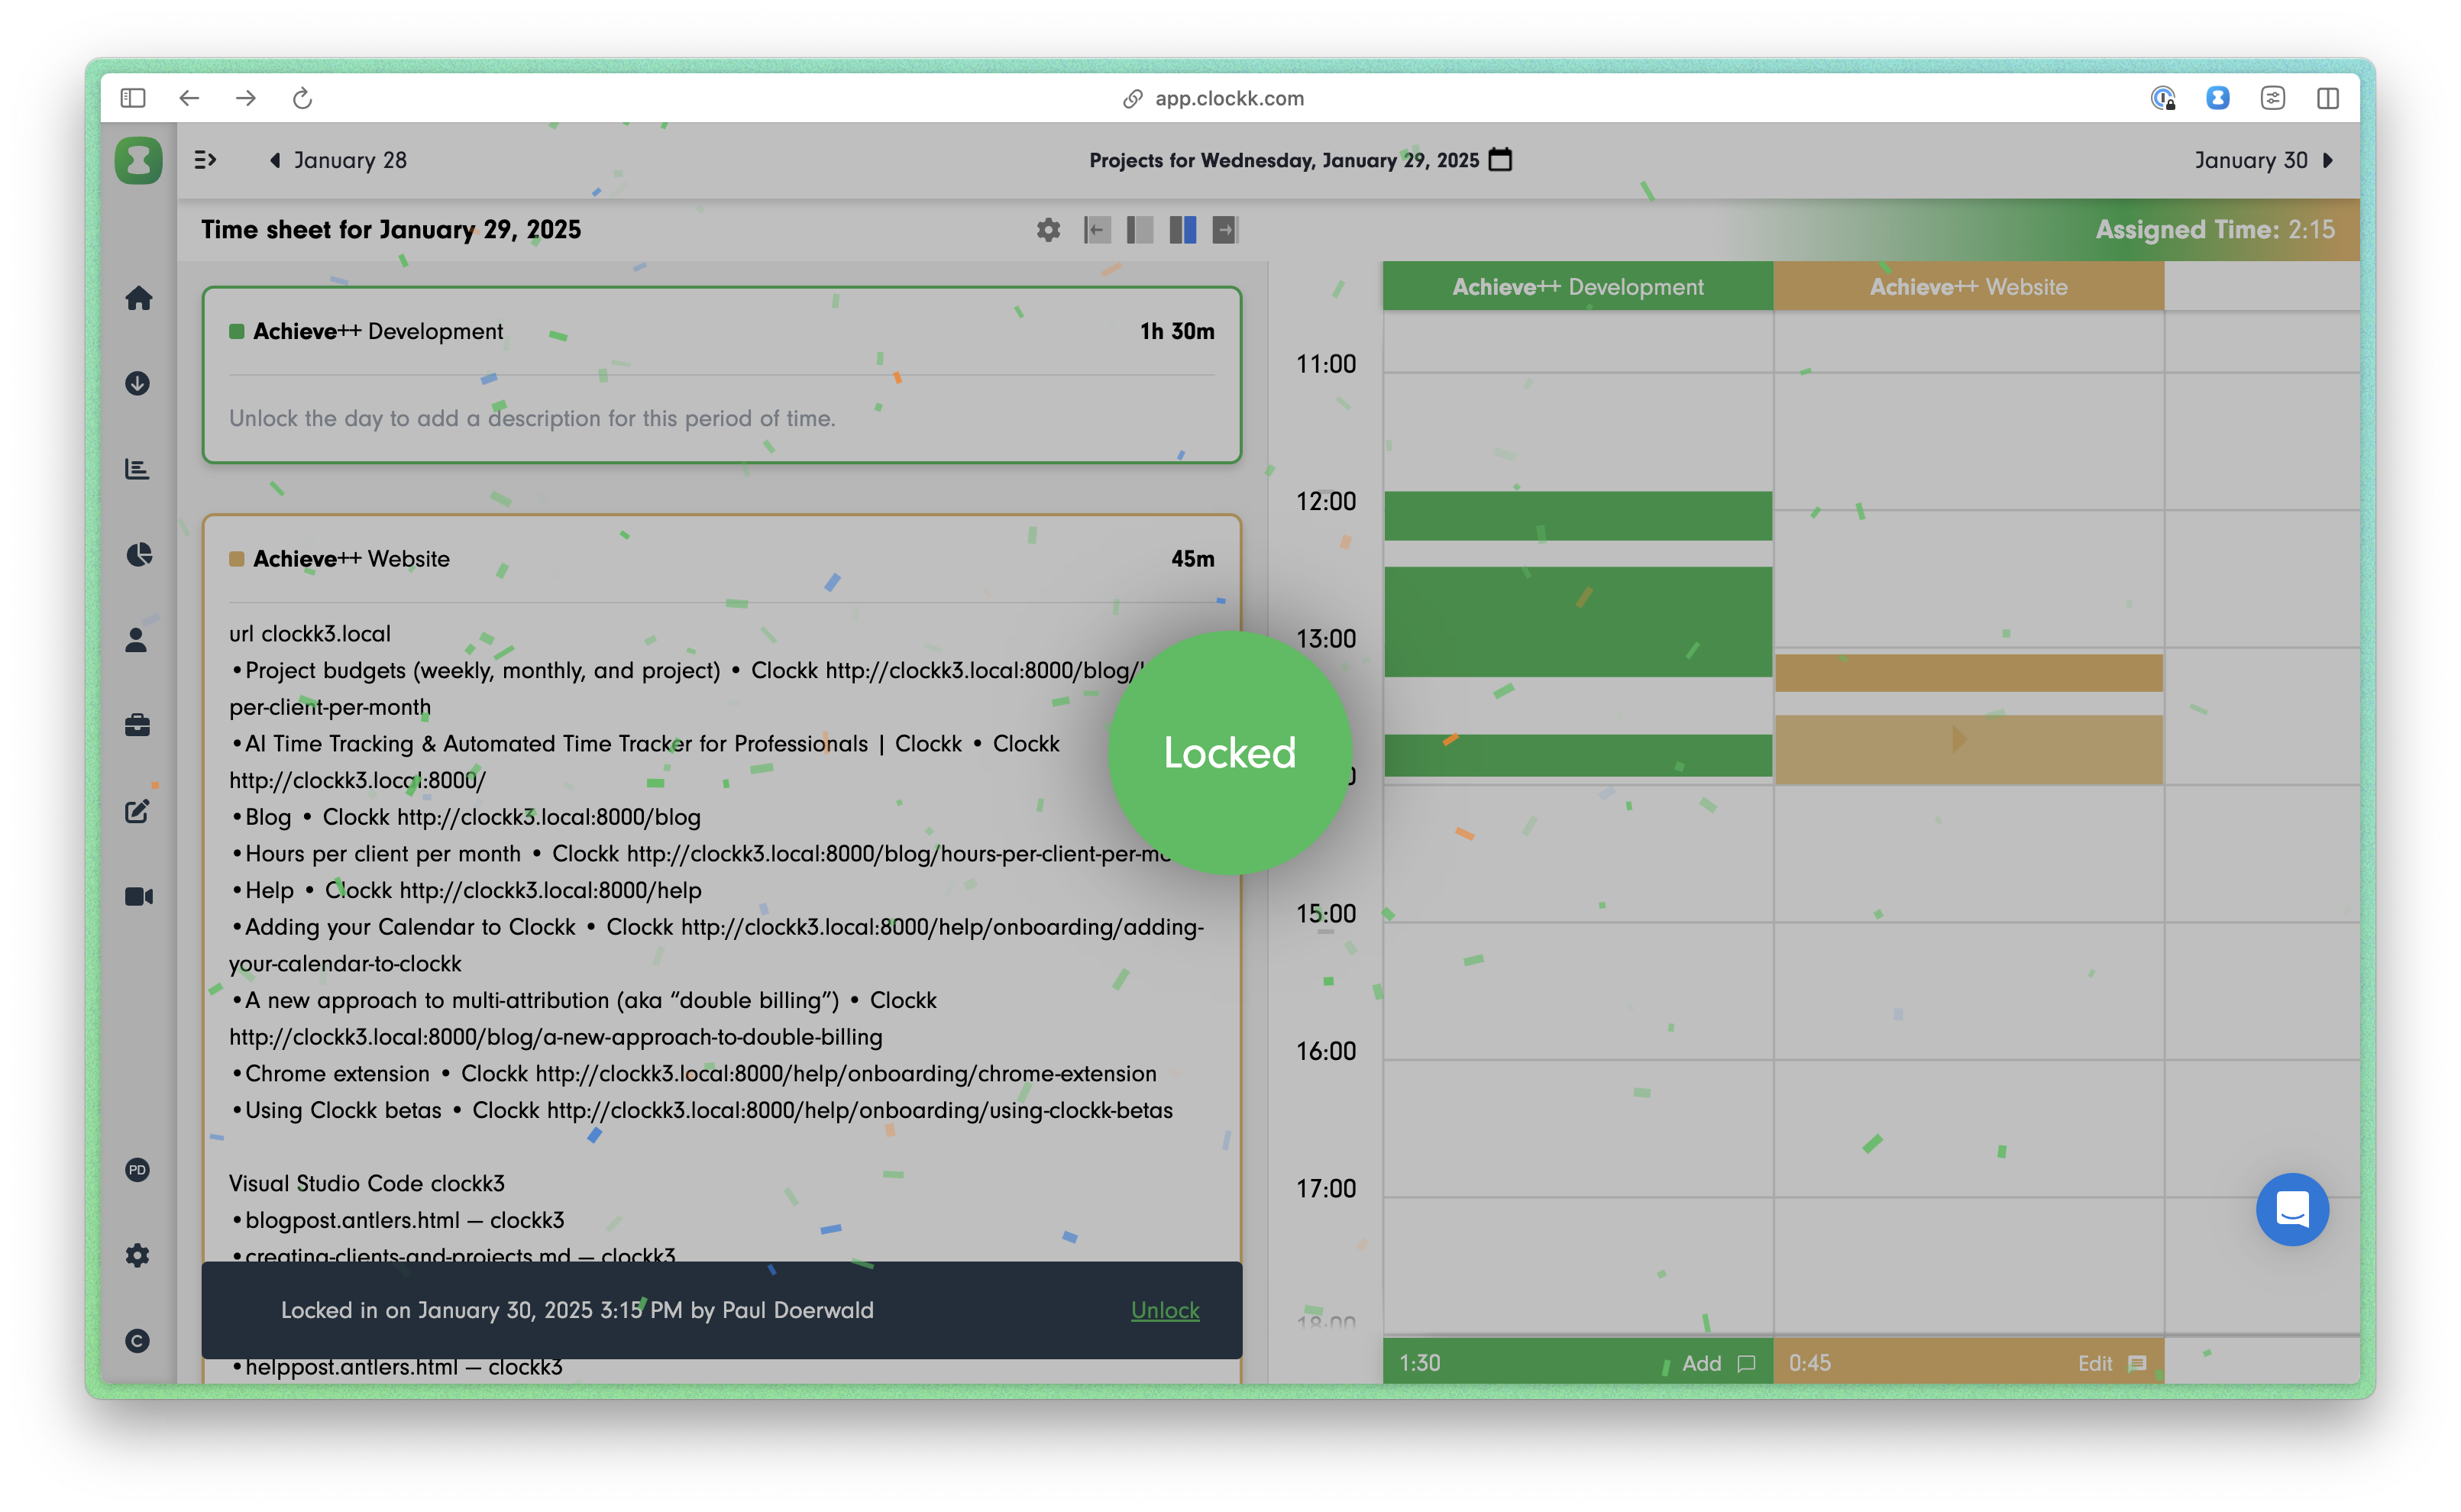
Now click the Save & Lock button to uncork a little celebration!
Insert tracked activities
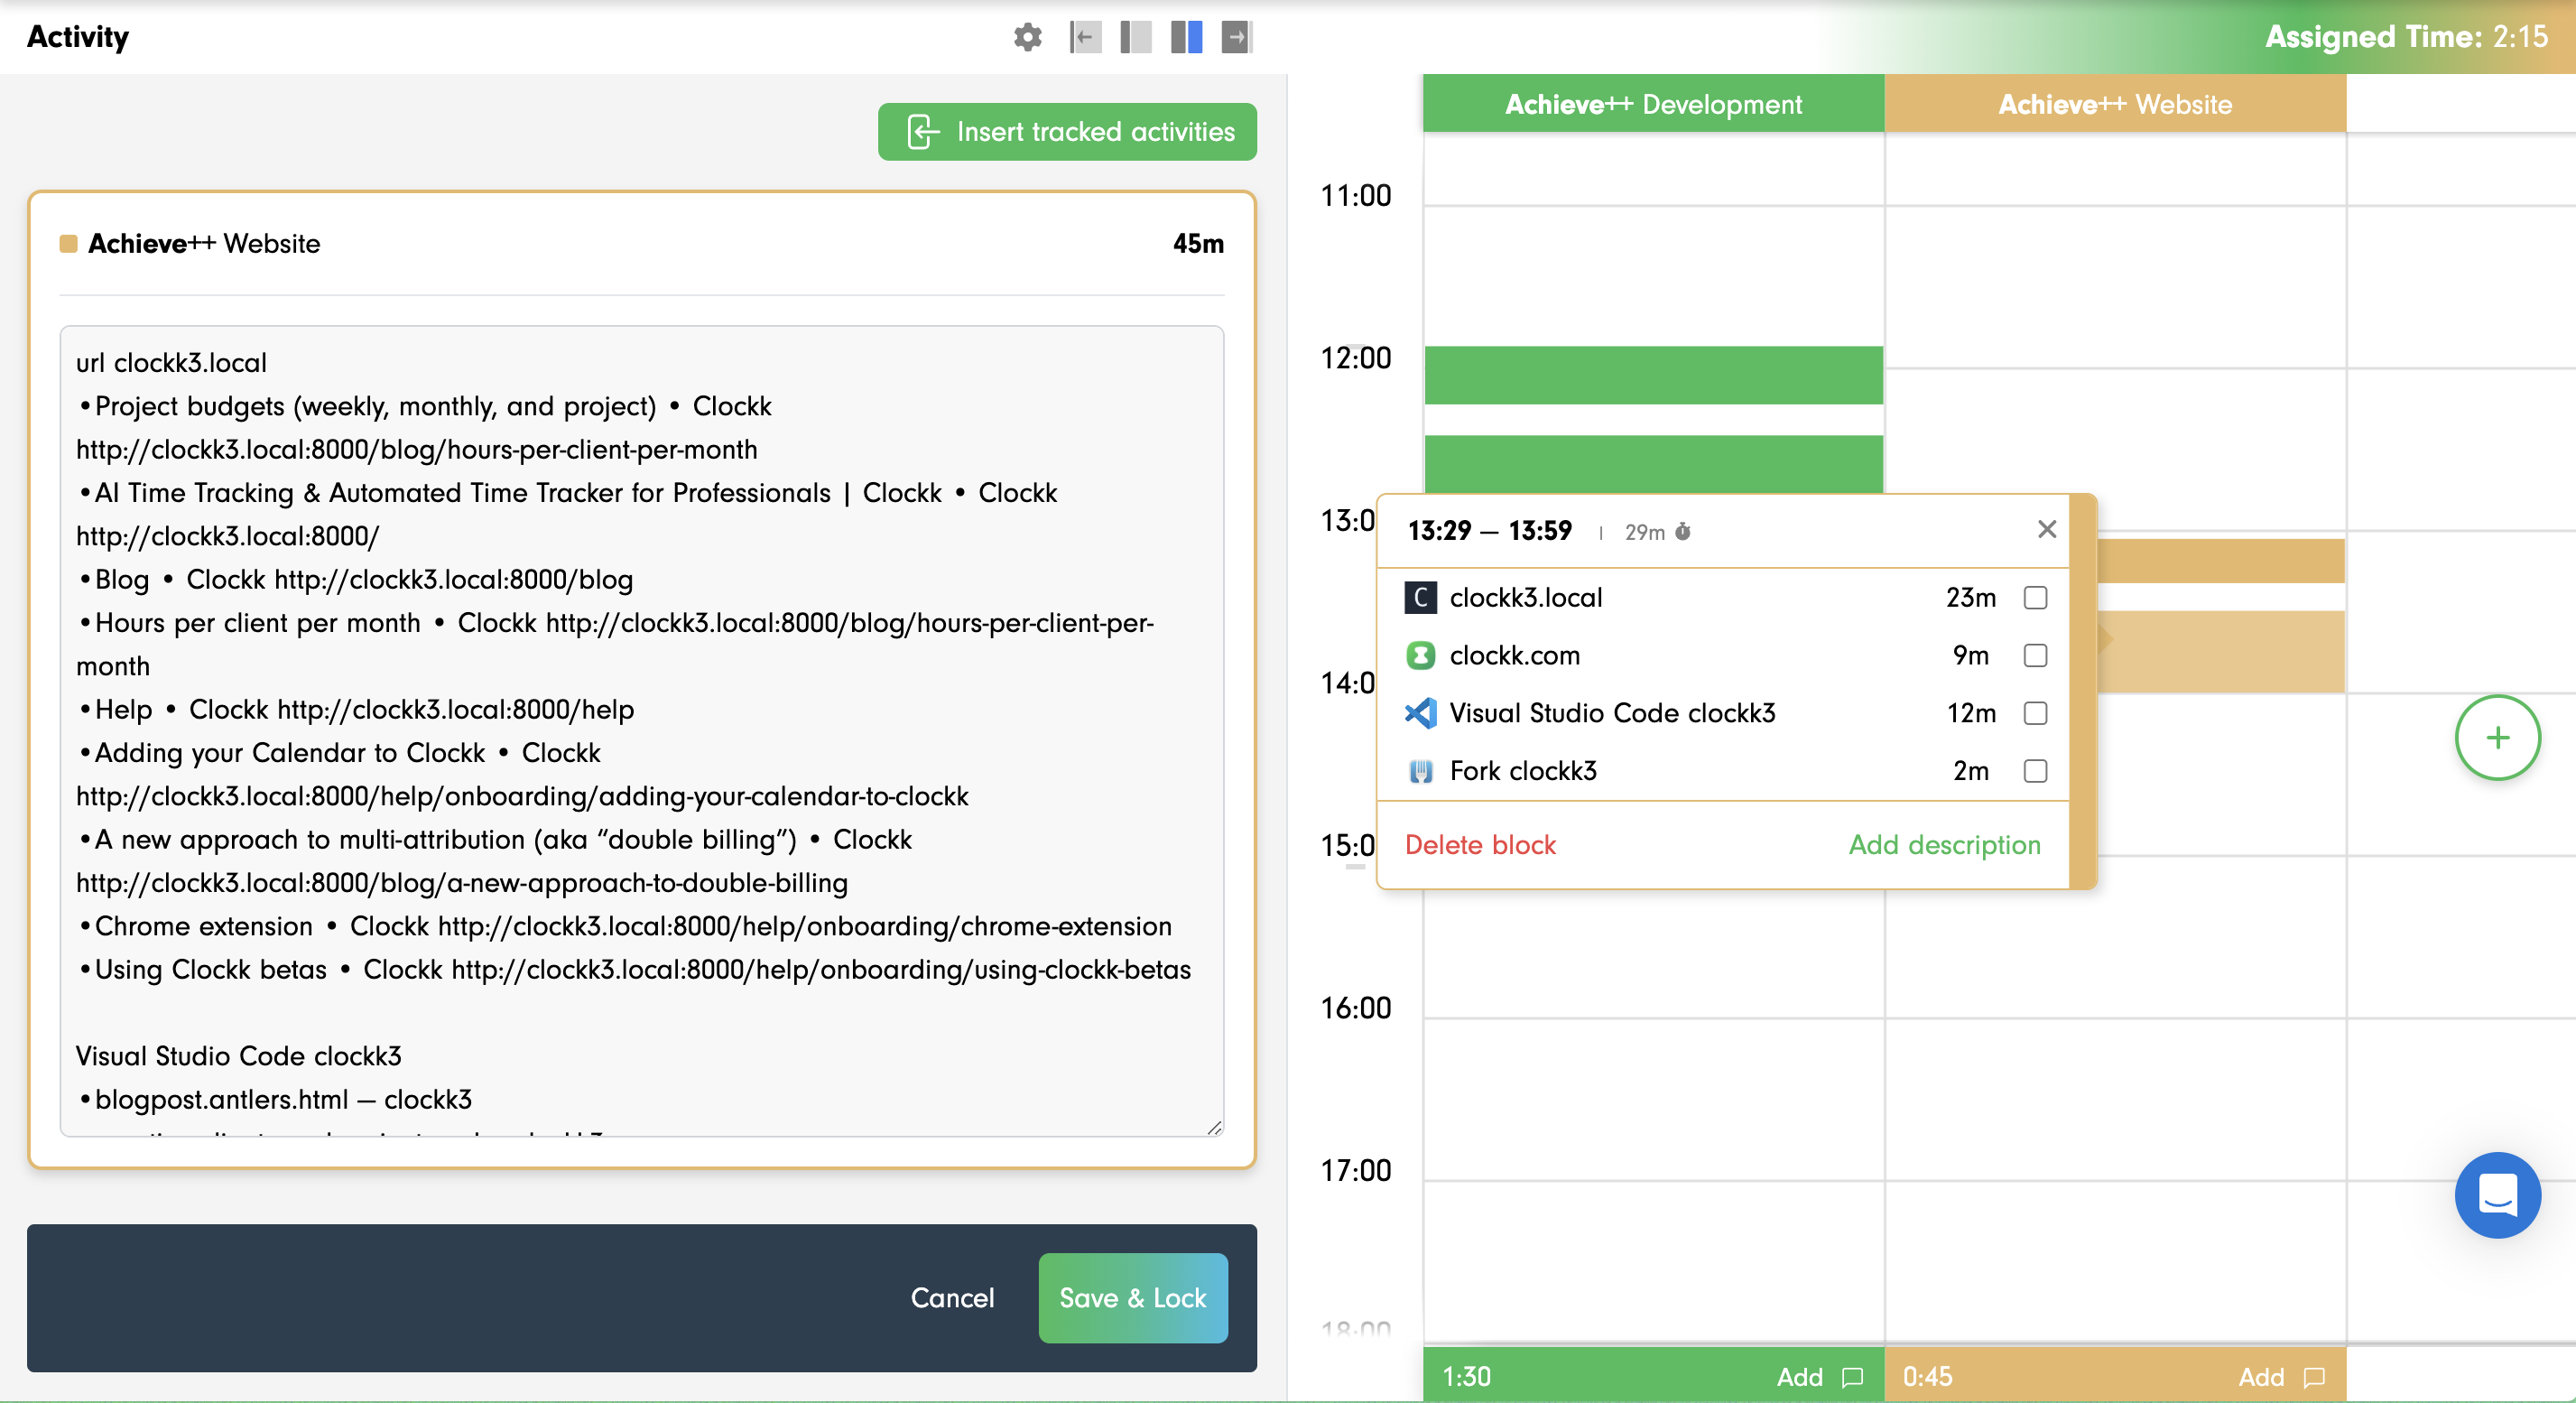
Notice the “Insert tracked activities” button at the top of the optional descriptions page. Click it and your tracked activities for the project will be imported into the description.
Reports
Locked-in days will show clearly on the calendar dropdown.
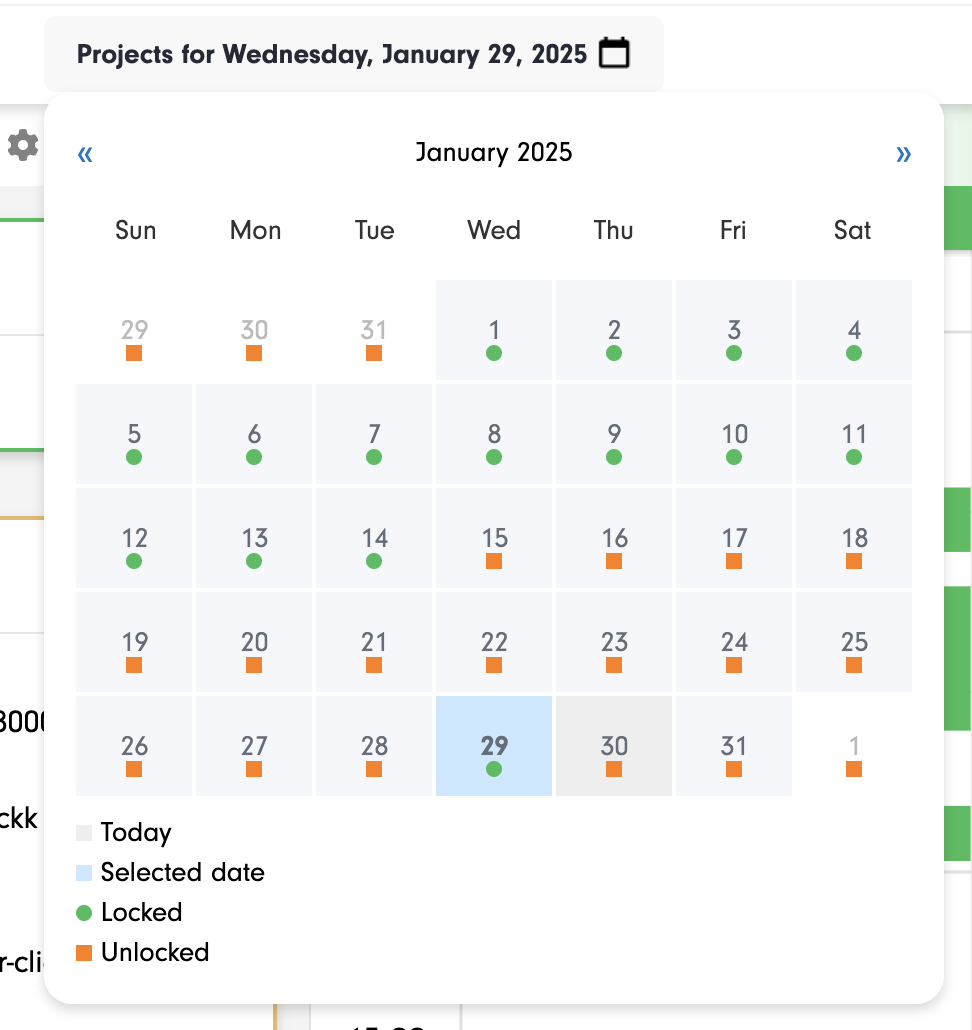
You’ll find the green circle (“Locked”) and orange square (“Unlocked”) throughout Clockk’s reports, showing you which user’s timesheets have been locked in and which ones haven’t.
Can’t lock in today

You can’t lock in today’s timesheets until tomorrow. That’s because today isn’t finished yet, and you might still do more work later on.
Want more detail?
You can read more about locking in your day in our help documentation.
Ready to save time and find unbilled hours? Get Started