Timemator vs Clockk: 2023 Comparison
Clockk • October 11, 2023
Timemator and Clockk are both automatic time tracking apps. They both run in the background recording your computer activity as you work and switch between tasks.
Both apps require you to install trackers on your computer. Timemator is installed on your computer, guaranteeing your privacy. Clockk is a SaaS app, so your tracked data and reports are stored on a server in the cloud. This enables team-wide reporting and synchronized projects. Clockk also guarantees your privacy.
Timemator is available on macOS. Clockk is available on Windows and macOS.
We will explore the benefits and features of TimeMaster and Clockk and learn how they help you with accurately billing for your time.
Timemator Vs Clockk
Pricing
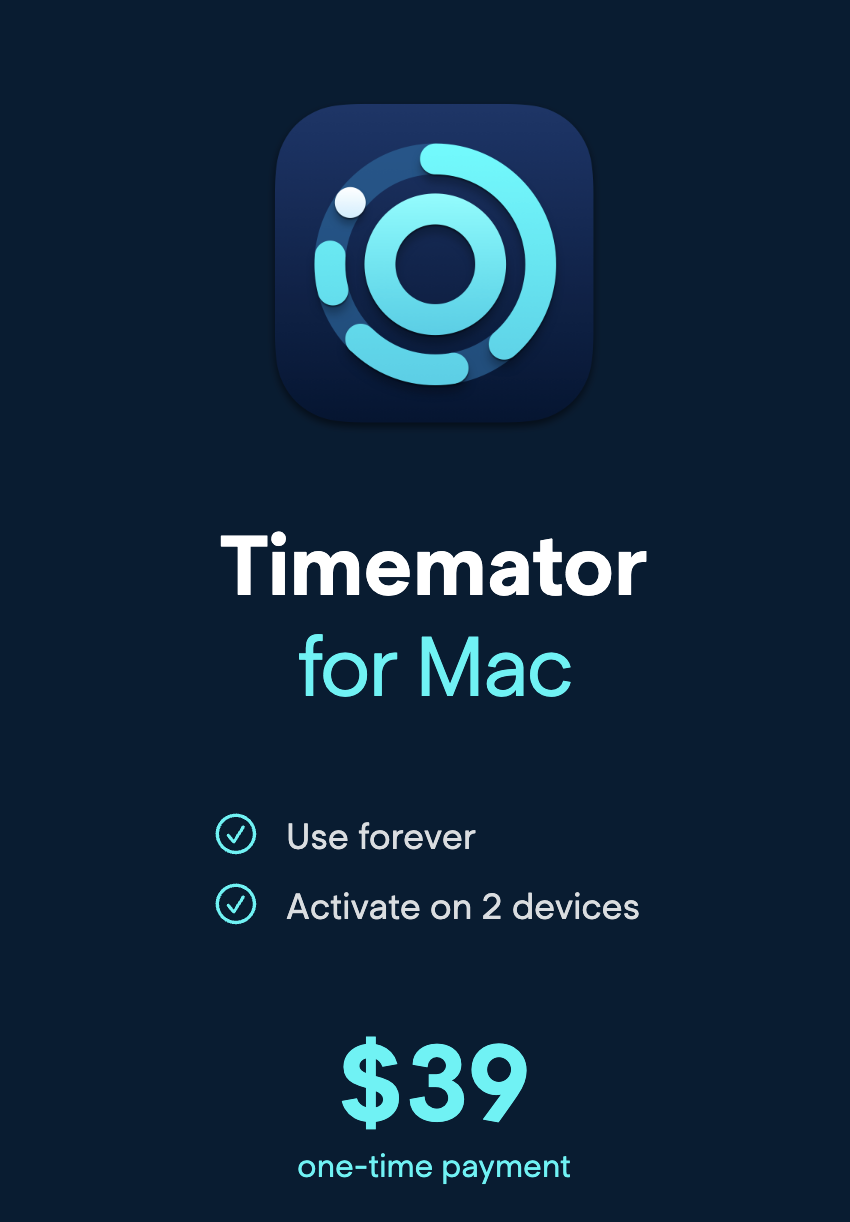
Timemator - one time payment of $39. Use forever and can activate on 2 devices.
Timemator offers a 30-day free trial.
Clockk has a free plan and a paid plan.
The paid plan is $15/month on annual subscription or $18/month on monthly subscription.
Clockk offers a two week trial period on the paid plan. When your trial period ends, if you don’t upgrade, you will automatically be put on the free plan.
Time Tracking
Timemator has a few different ways you can track time.
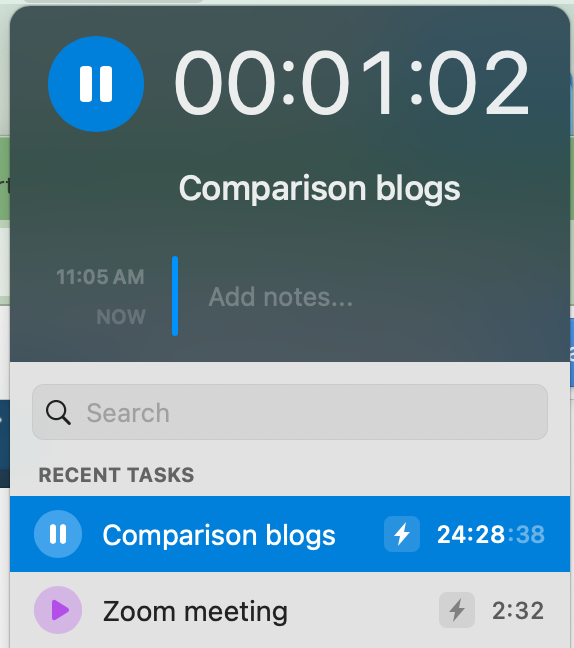
- Pressing start and stop on a timer.
You can access the timer from the bottom left corner in the app or from the top menu bar on your screen. Click on the timer to open a drop down menu where you can choose the project you’re working on, add any notes, and see how many billable hours you worked.
- Activity timeline.
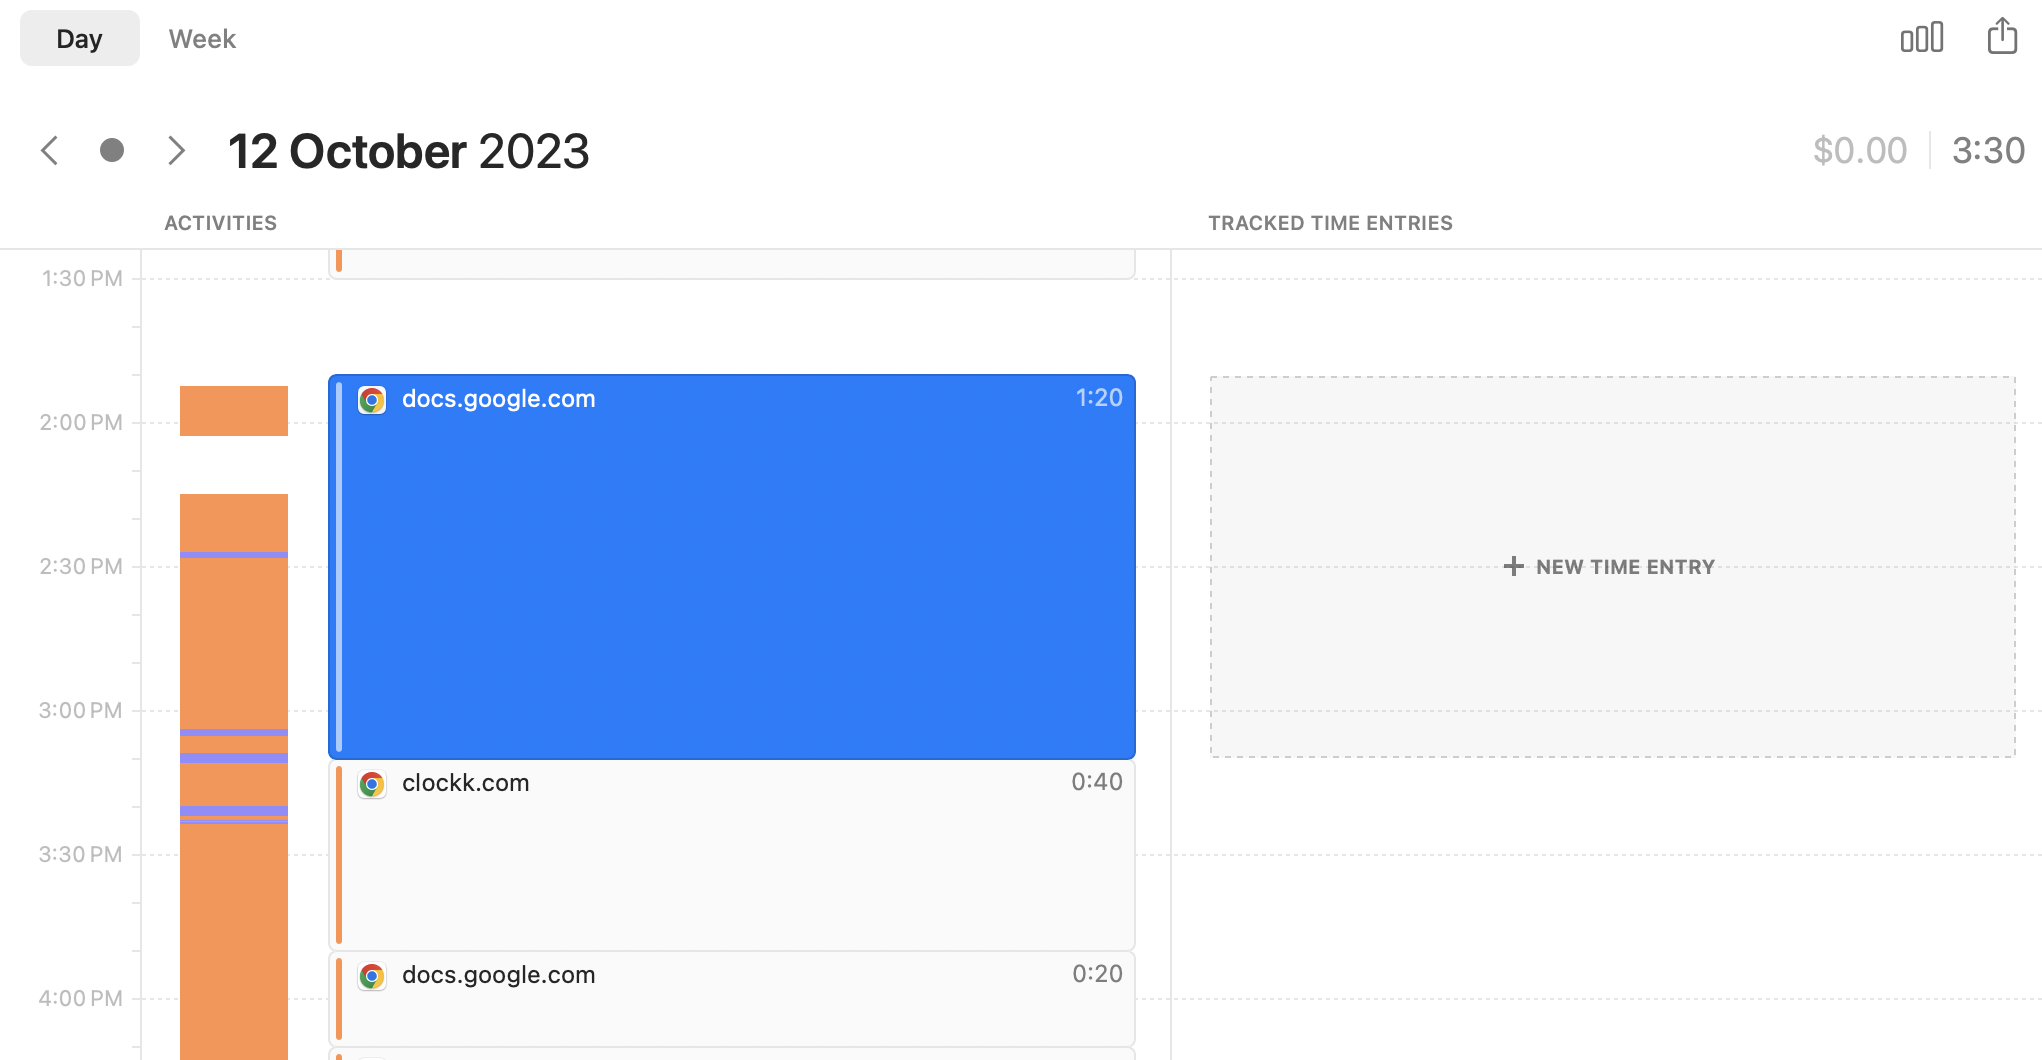
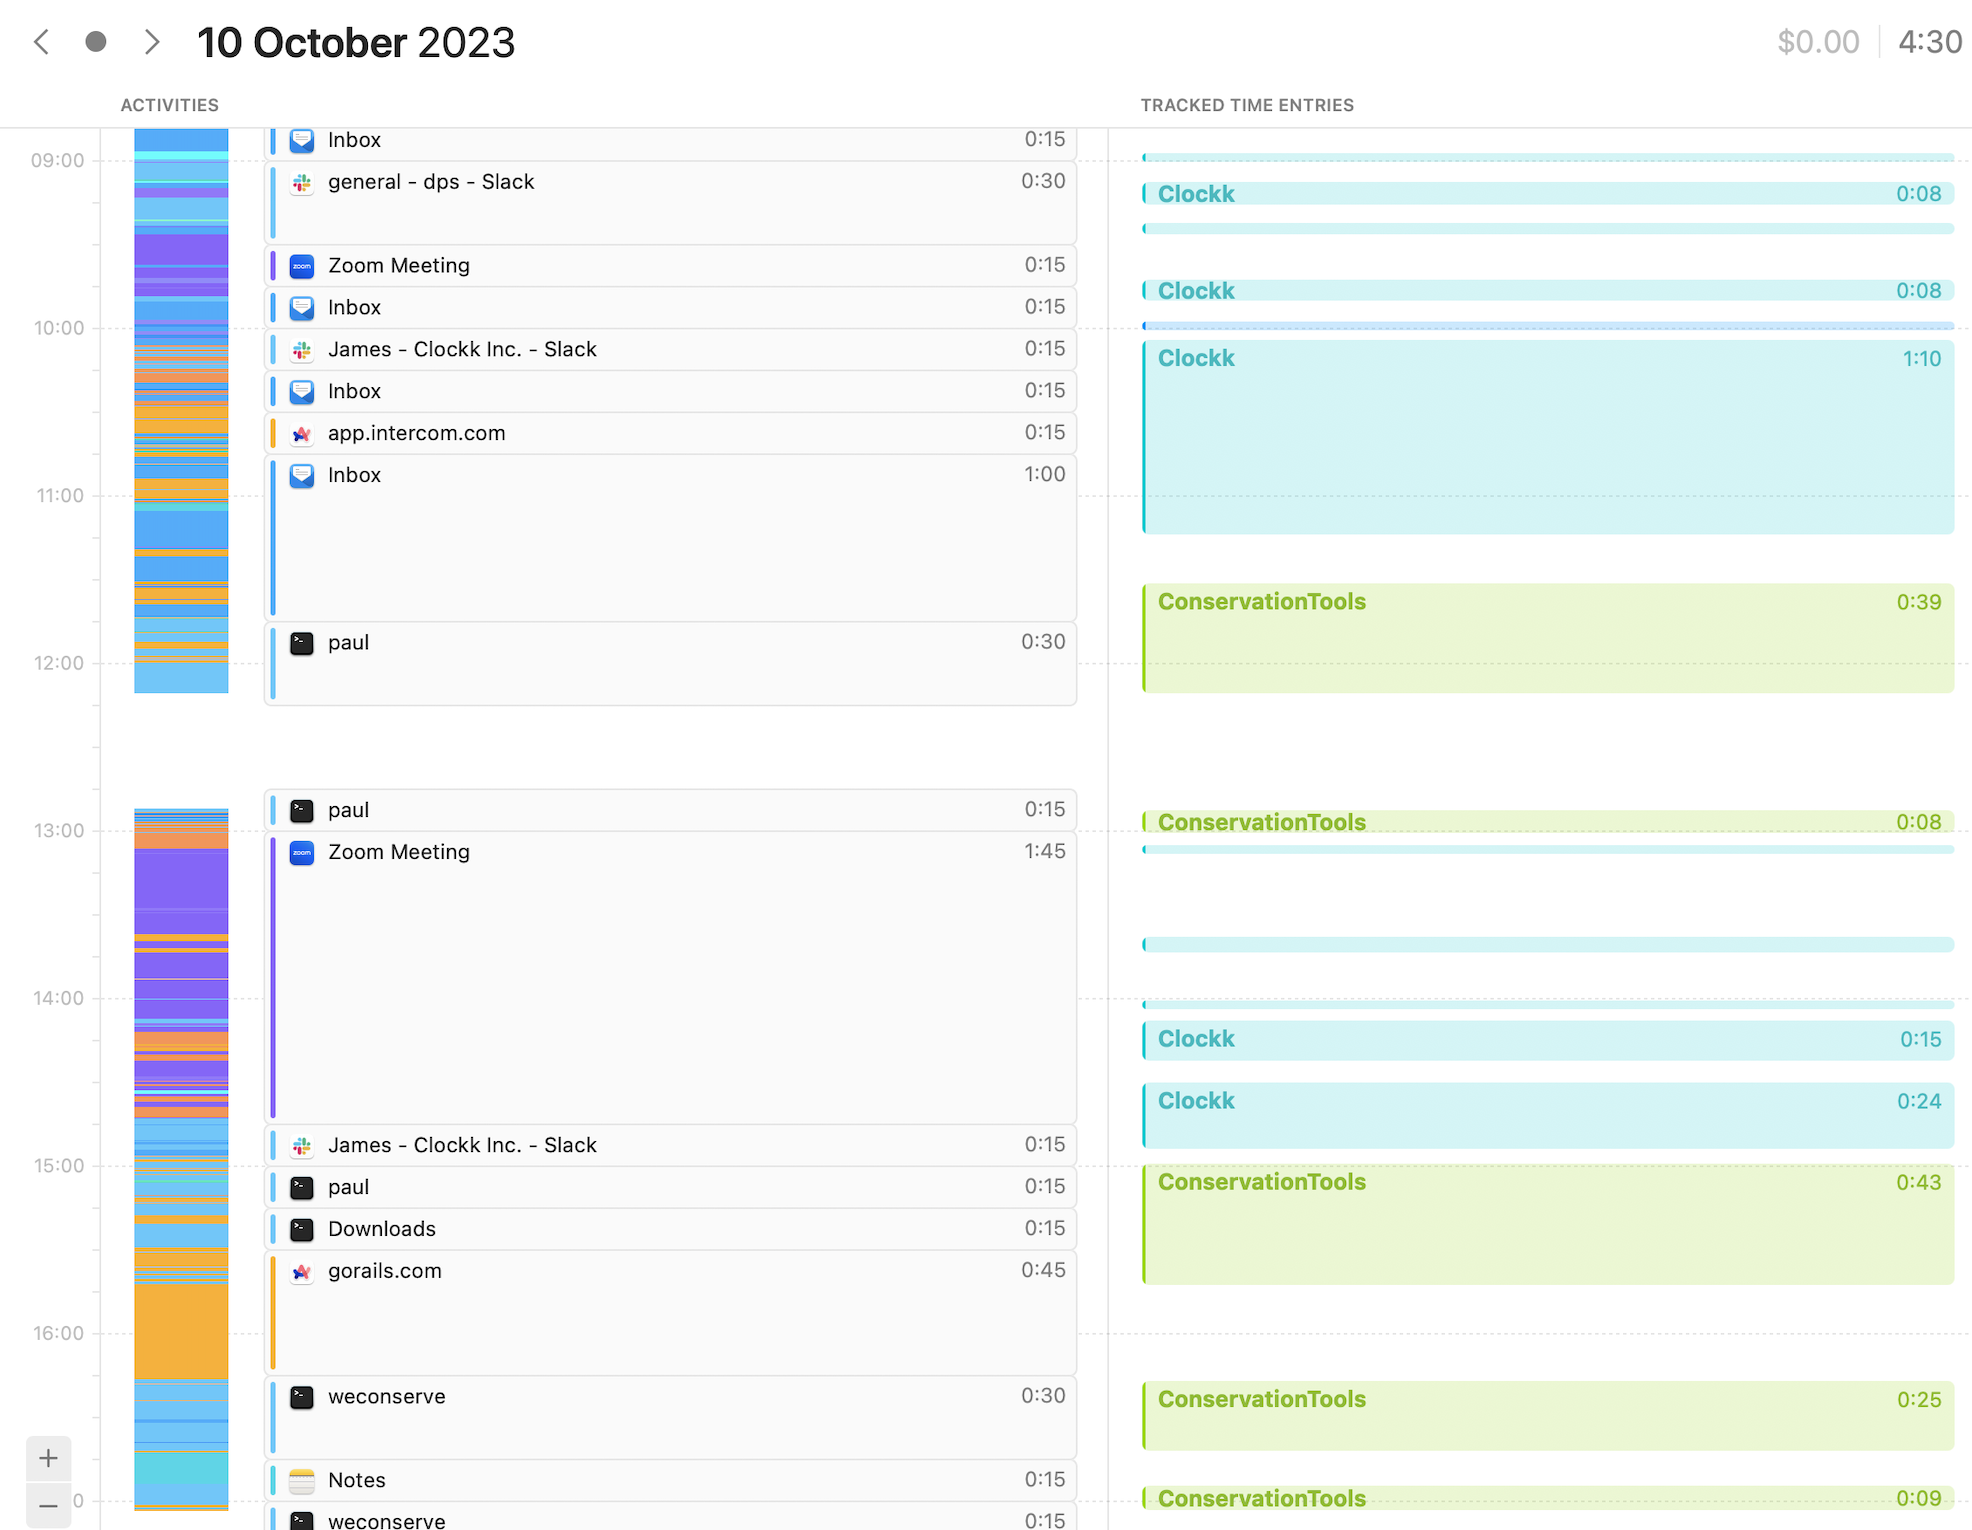
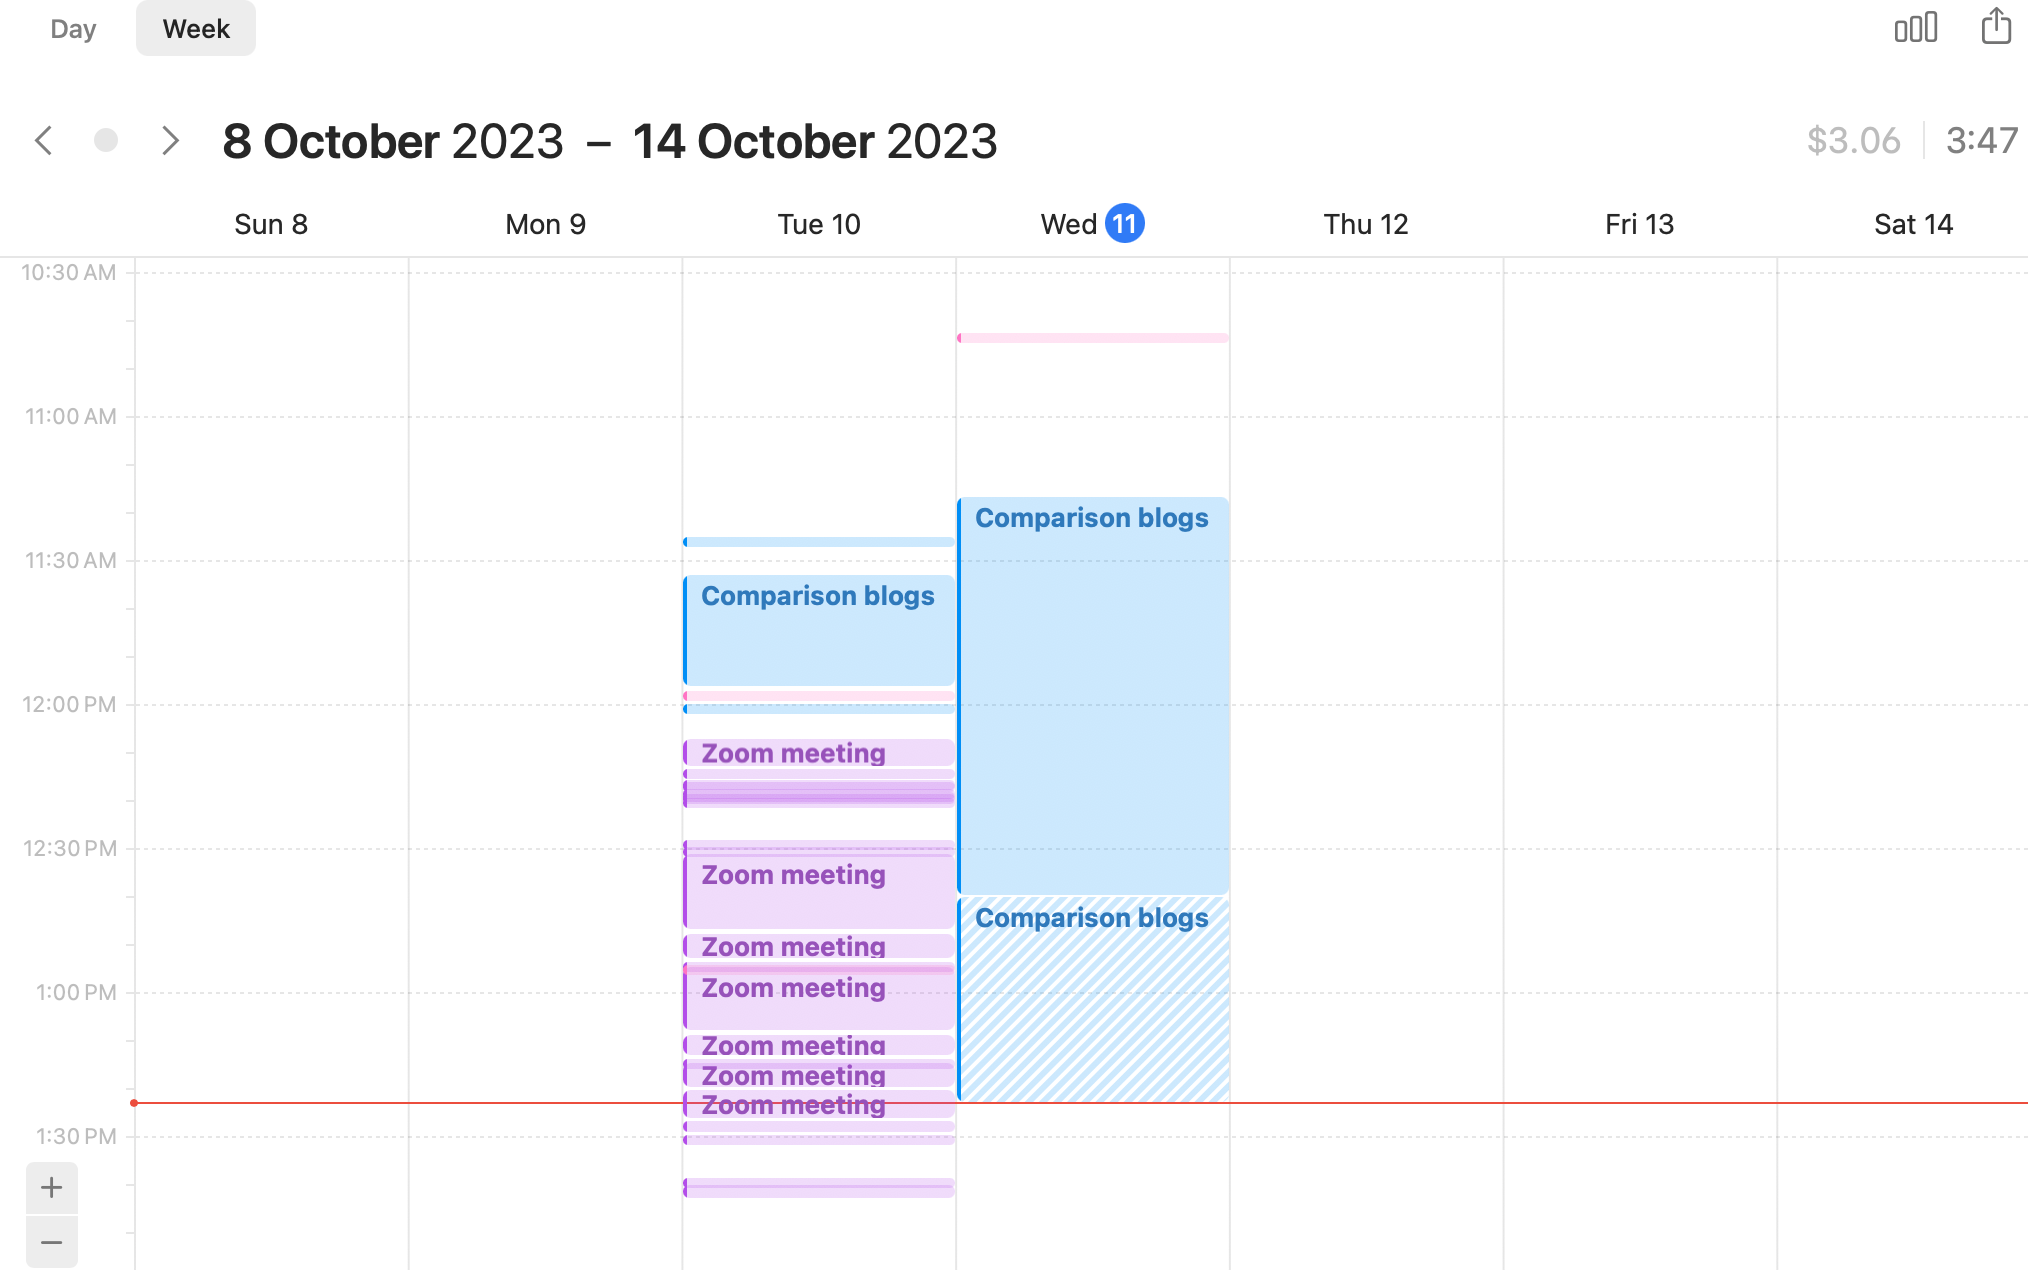
Your work automatically shows up in a timeline with the name of the app you spent the most time on. Click on the block to get a breakdown of everything you did in that time period. You can create timesheets by clicking on an activity and and pressing + new time entry in the tracked time entries section.
- Auto-tracking.
The auto-tracking feature allows you to set “rules“ that will automatically start a timer on your behalf. You can set rules based on numerous options such as window title, website URL, and when you launch an application. For example, I set a rule for the name of this blog post and the timer automatically started when I was working on this blog.
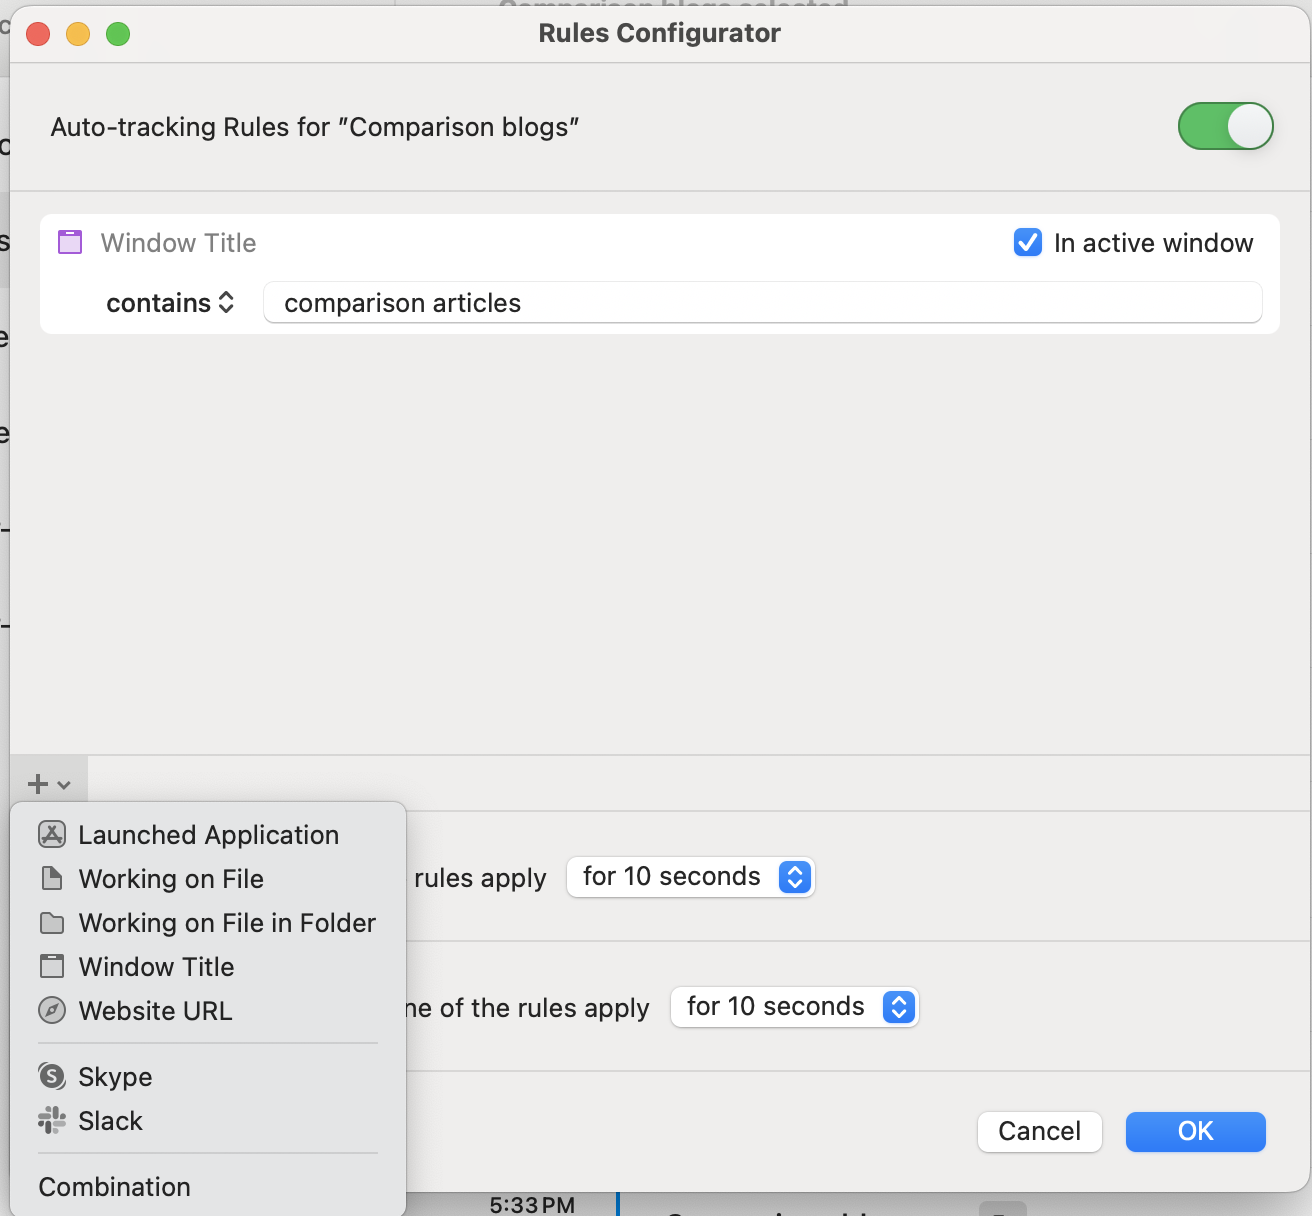
With the auto-tracking feature, your work will be automatically assigned to the the project you set the rule for. You can see what was automatically assigned in the tracked time entries section.
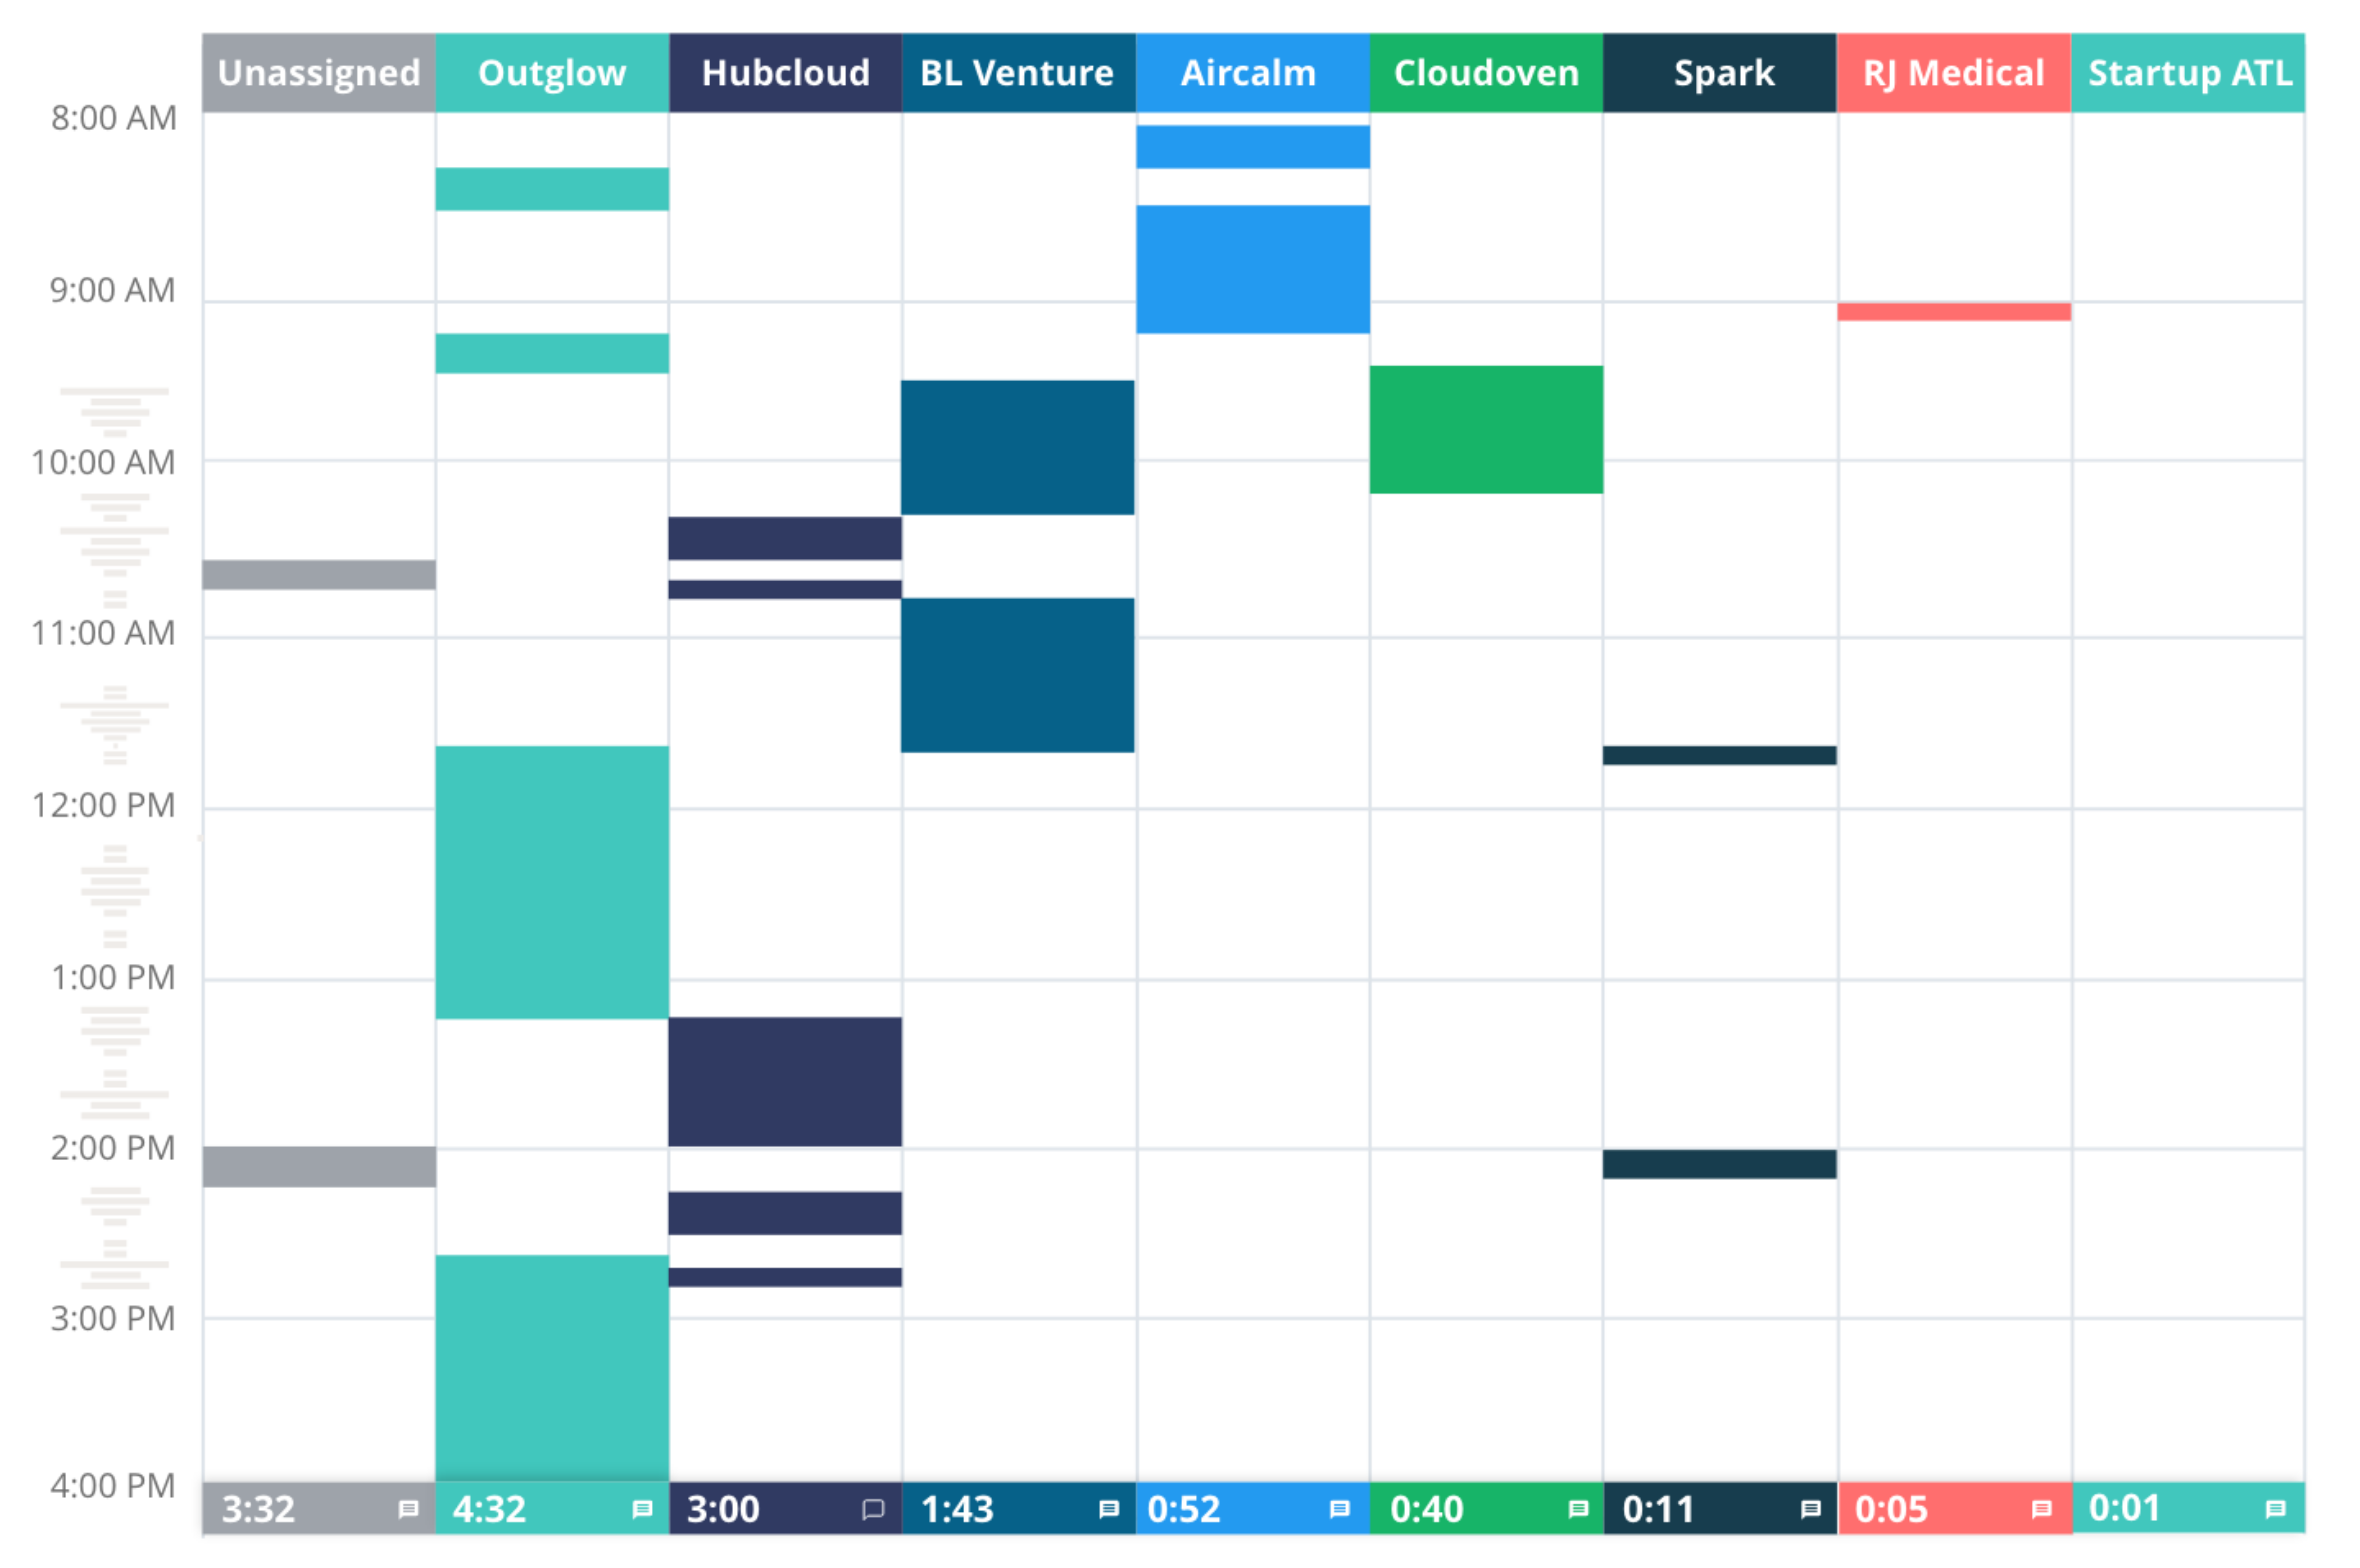
Clockk has no timers. Everything that Clockk tracks is automatic. Clockk accumulates work time on documents, and you can apply that time to projects by assigning the work to a project. Read more in our deep dive on how Clockk's time tracking works.
You can view your work in two different ways: the Activity View or List View. The Activity view groups your work in columns by project/client with the total time spent on each project at the bottom of the column for that day. You can click on a block of time in the Activity view to get a breakdown of everything you did during that time. The List view shows your work in the order of what you spent the most time on.
The big difference between Timemator and Clockk is that Clockk can determine different projects within the same app. Timemator can’t distinguish between different projects within the same app.
I spent time on two different Twitter accounts while tracking my time with Clockk and Timemator. Clockk shows me the amount of time I spent on each Twitter account. Timemator shows me that I spent time in Twitter on the Activity Timeline. It shows a breakdown of all the Twitter URL's I spent time in, but it does not show me which account I was in.
Clockk can uniquely separate project work in numerous apps such as QuickBooks, Photoshop, Asana, Jira, and many more. Take a look at the full list of supported apps and supported web apps.

Creating and assigning work to projects
With Clockk, you create clients and create projects under each client.
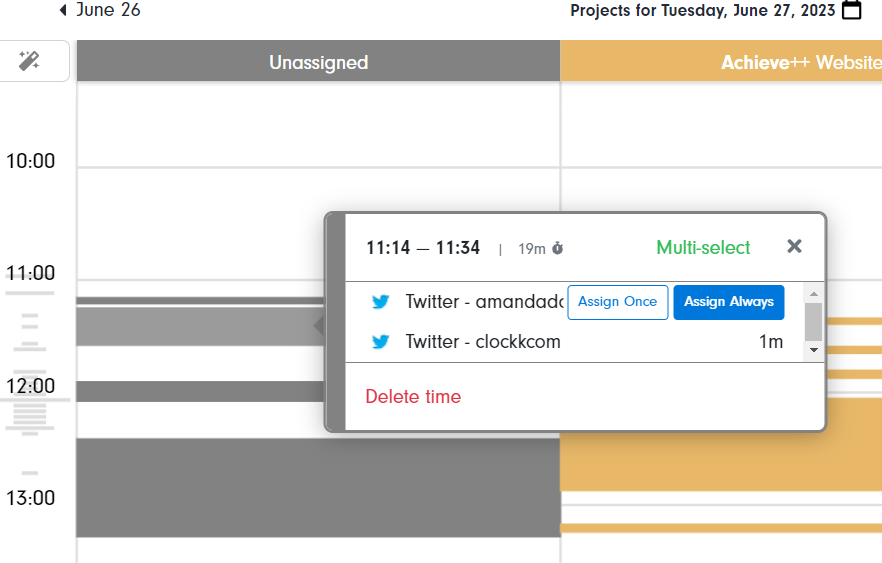
When you assign your work to projects, you have two options: Assign Once or Assign Always. If you opt for the Assign Always feature, Clockk recognizes your patterns in the future and will automatically assign the same task to the designated project.
With Timemator you create "folders", which is a client, and then you can add projects in each folder. You can also create folders for your projects, and then add tasks to those folders. You can choose if your tasks are billable or non billable and add in an hourly rate.
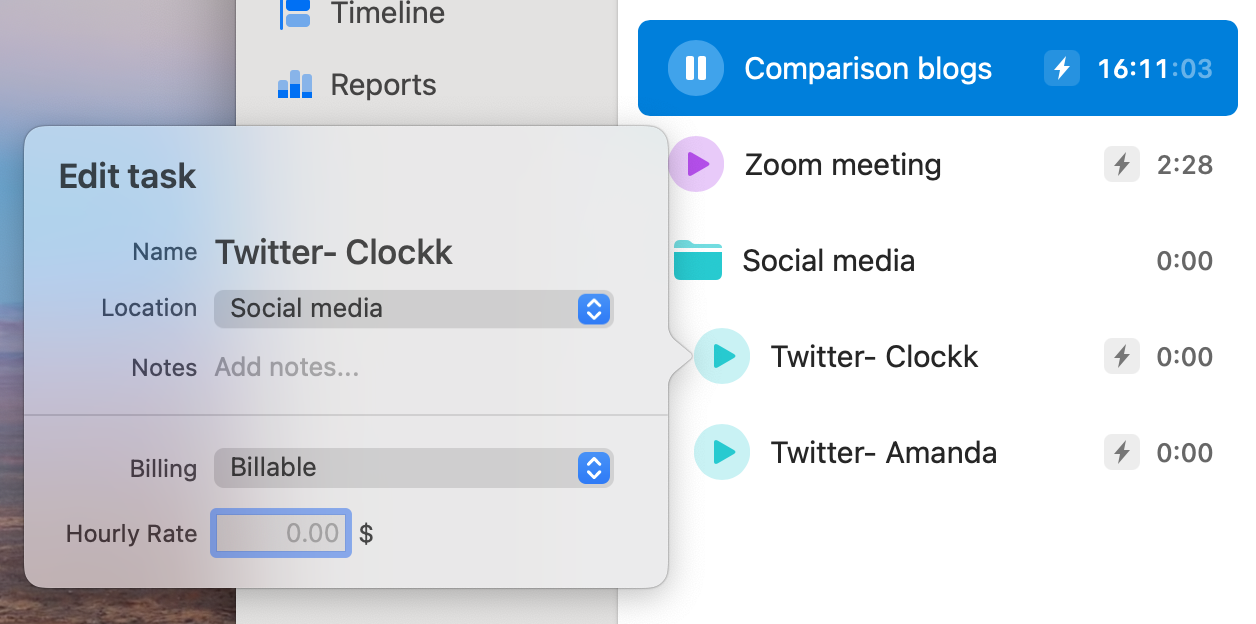
When it comes to assigning your work in Timemator you have a few options depending how you are tracking your time.
-
If you are using the start/stop timer, you choose the project your working on when you start the timer.
-
If you are using the auto-tracking feature, your work will be automatically assigned to the the project you set the rule for.
-
You can manually assign your work from the Activity Timeline by clicking on an activity and pressing + new time entry in the tracked time entries section.
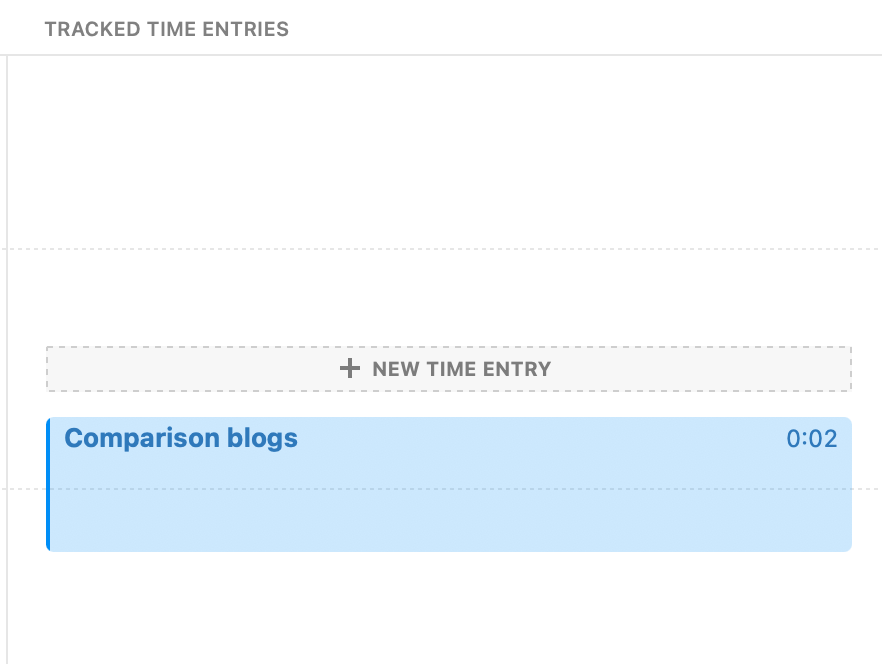
The big difference between Clockk and Timemator is that with Clockk you don't have to set everything up in advance. Clockk lets you assign work after you’ve done it. If you have lots of recurring projects, the Assign Always feature will save you time assigning work. However, every time you add a new asset (e.g. Photoshop file) to a project, you’ll have to visit Clockk and assign it to the project.
With Timemator, you need to set up the auto-tracking/auto-assigning feature in advance, before you get down to work. If you want to assign your work after you’ve done it, you can assign work from the Activity Timeline, however, there is no auto-assigning feature. You will need to log in everyday and assign your time manually.
In both Timemator and Clockk, any work you do must be uniquely associated with a project. i.e. you can’t work on the same photoshop file for 2 different projects because both tools won’t know the difference. Timemator gives you a bit more nuance because you can set up “rules” by application, whereas Clockk has a simpler but faster-to-use “assign” system.
Reports
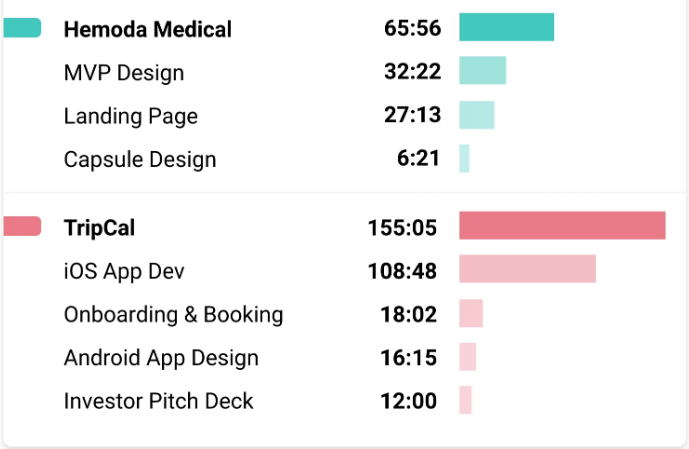
Clockk’s reports are simple and straightforward. View reports of tracked time that you can filter by any combination of day, team member, client, and project. Easily see how much time was spent on a client with a breakdown of how much time was spent on each project for that client.
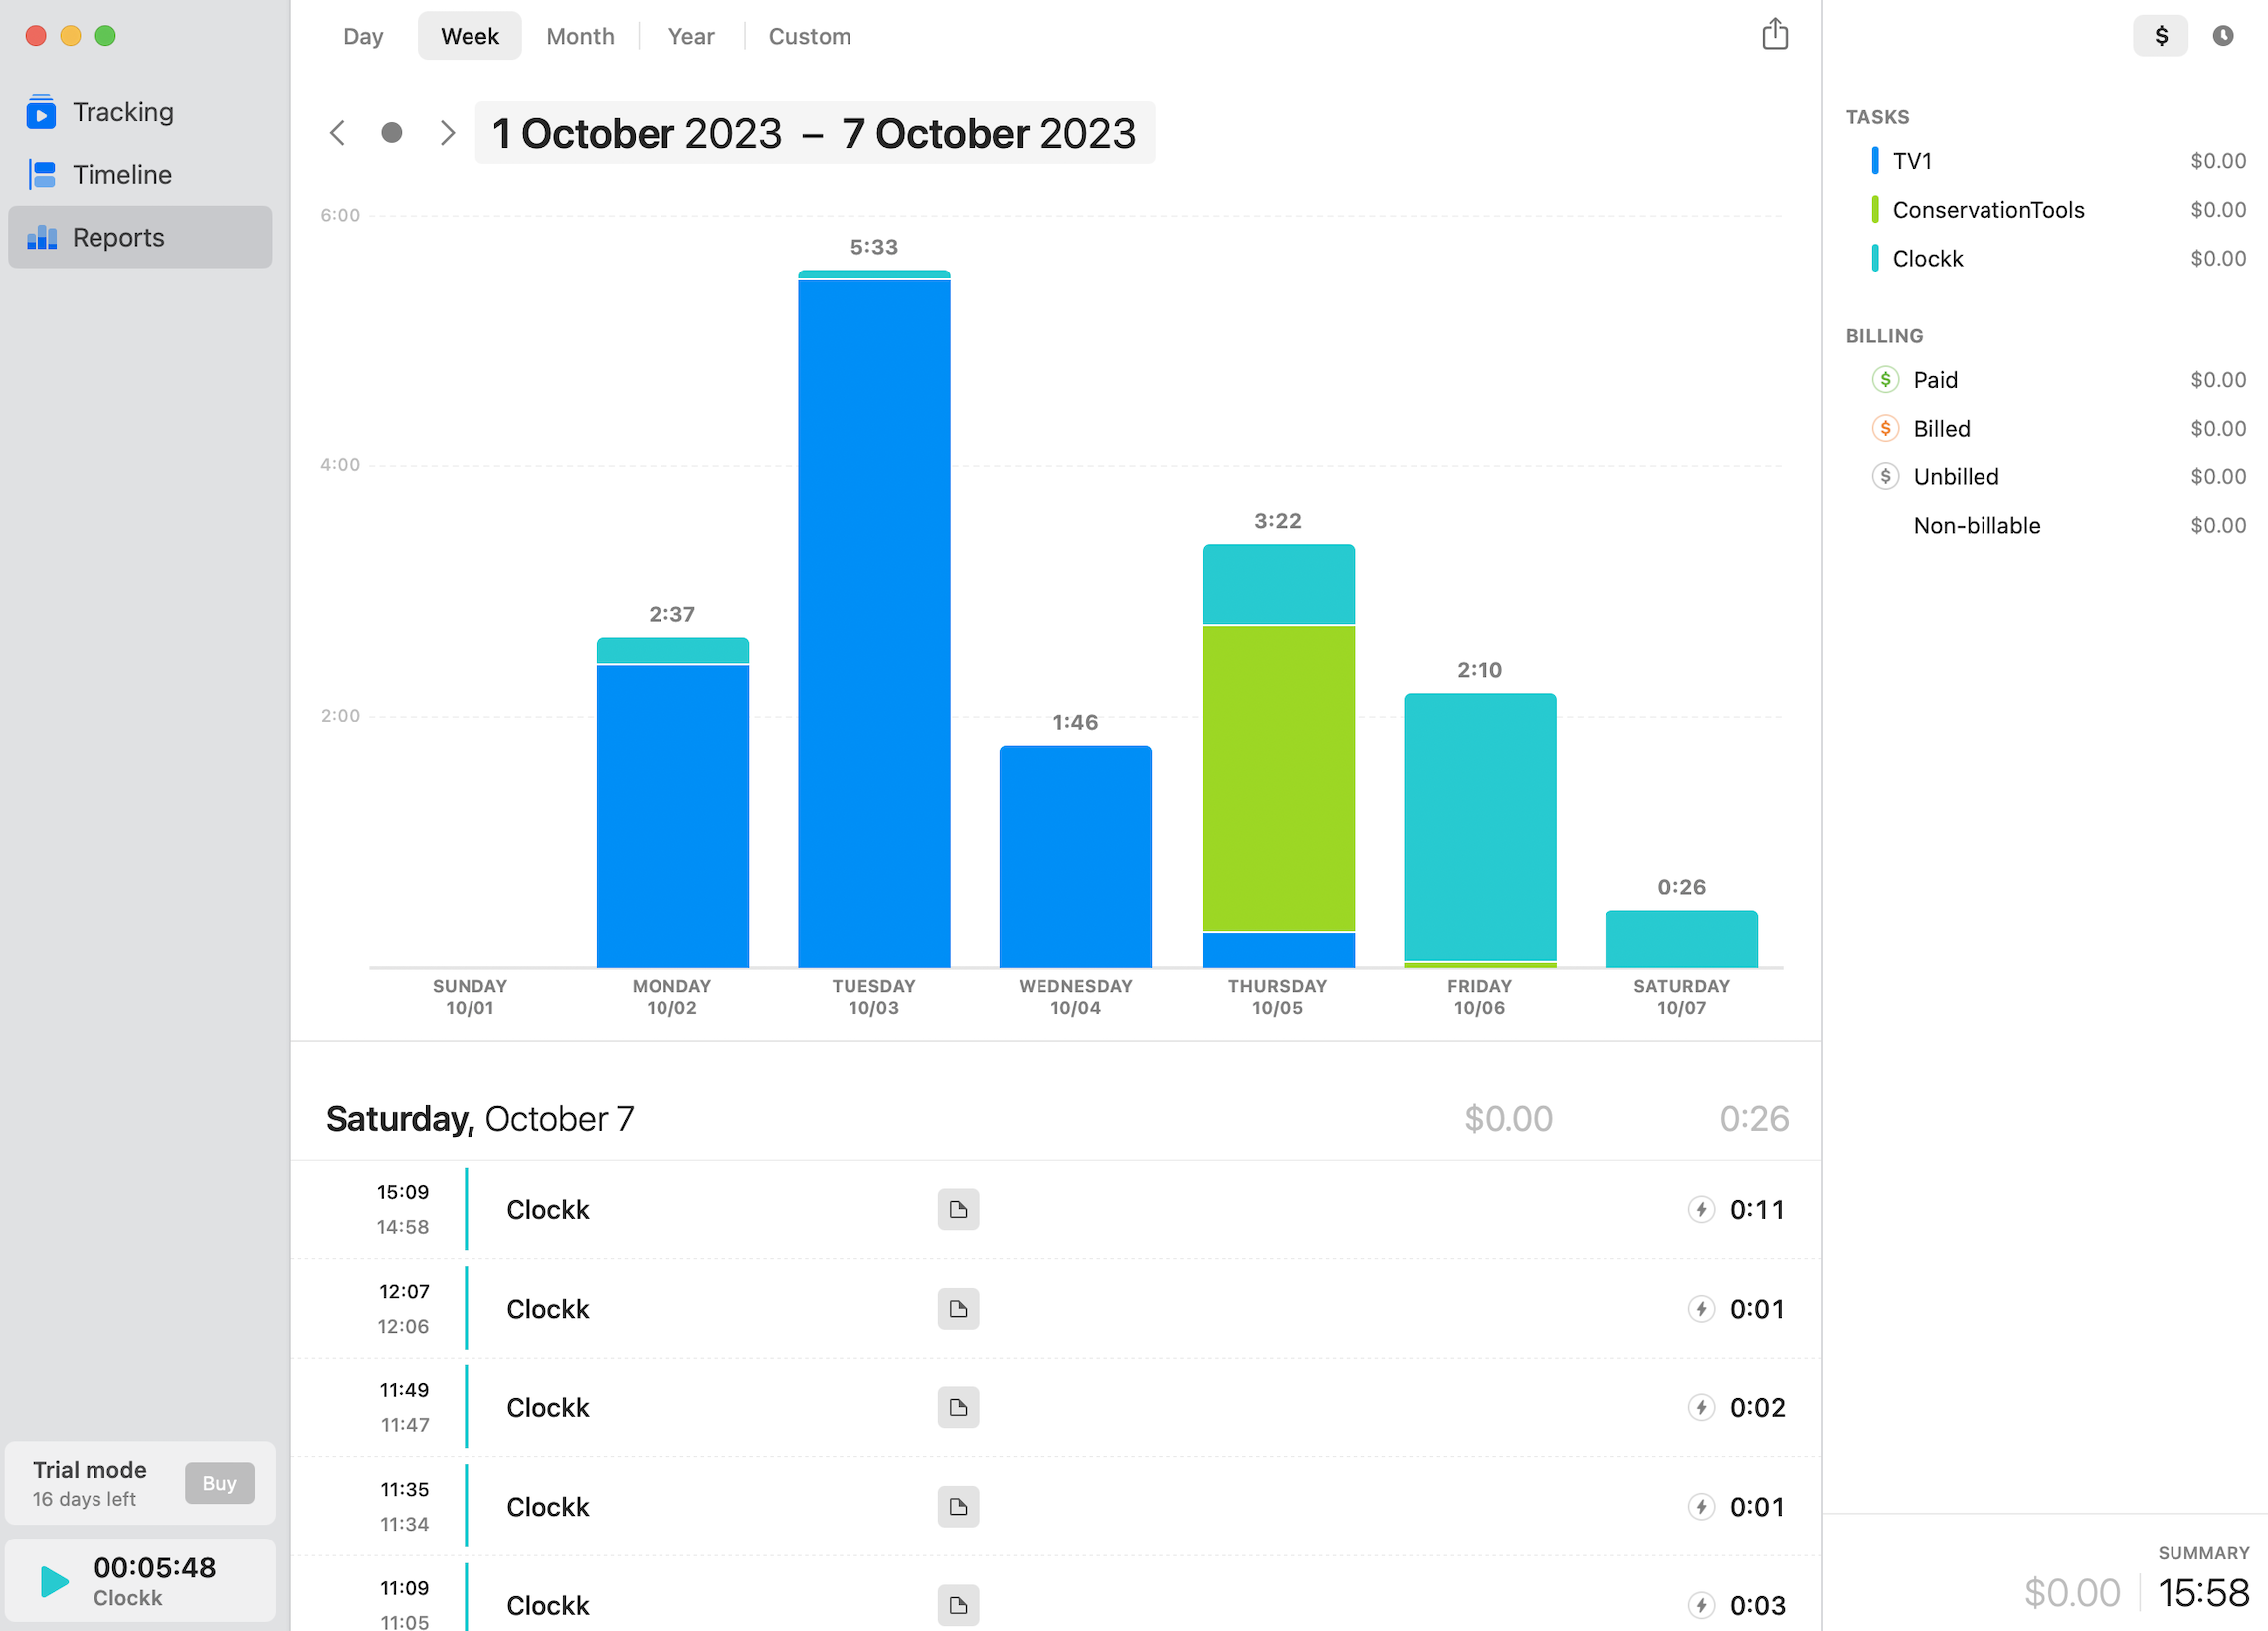
With Timemator you can view weekly, monthly, yearly, or custom reports of the total time spent on tasks. You can see you total amount of working time and billable amount. You can mark tasks as billed and as paid. You can export reports and send them directly to your client.
Timesheets
In Clockk, view your timesheets under the Timesheets tab. Clockk automatically saves your timesheets. Easily see which projects team members have worked on and which team members still need to submit timesheets. Clockk has team capabilities or you can use it solo.
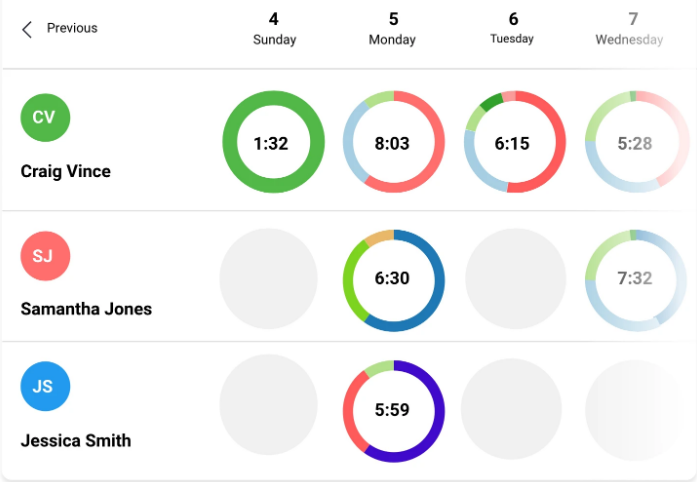
In Timemator, view your timesheets under the timeline tab. You can view them by day or by week. Your timesheets are not automatically saved other than time you tracked time with the auto-tracking feature. You will have to make sure you remember to assign your work.
Teams
Clockk has team-wide reporting and synchronized projects. All your tracked data is private for your eyes only except for the timesheets and teams tab.
Timemator has no teams capability at this time.
Final thoughts
Advantages of Clockk:
- Powerful multi-project support helps you identify missed billable hours easily
- You don’t have to set up everything in advance. Clockk lets you assign work after you’ve done it.
- Team support. Clockk has team-wide reporting and synchronized projects.
- Auto-assigning your work saves you time assigning work to projects.
Advantages of Timemator:
- Very inexpensive
- Simple to understand
- Different options for tracking your time (start/stop timer or auto-tracking)
- Nested folders allow you flexibility. Depending on your folder hierarchy, you can assign time to clients, projects, sub-projects, tasks, or any combination thereof, depending on your needs.
Ready to save time and find unbilled hours? Get Started